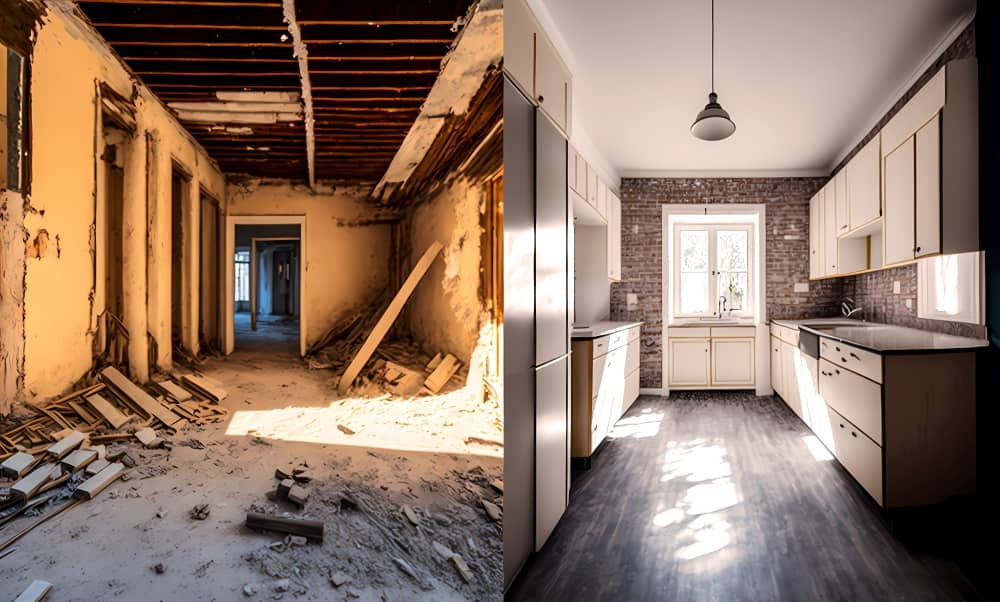
Renovations can be exciting even though your home becomes one huge (not to mention messy) construction zone. After the dust settles, you have to clean up – unless your contract with the contractor explicitly states they will do this job for you.
Removing dust and debris is hard, time-consuming, and patience-testing. However, it is a necessary step to protect your furniture and furnishings and eventually bring your home back to life. Don’t let cleaning up dampen your enthusiasm for your new bathroom or kitchen benchtop. Use the following post-renovation cleaning checklist to help you tidy up like a pro:
1. Gather Your Cleaning Supplies
Clean-ups after construction or renovation are physically and mentally exhausting. The last thing you want is to look for tools when you have already started the clean-up. The materials needed will depend on the severity of the mess but will usually include the following:
- Mop and bucket
- Broom
- Soft and stiff brushes
- Rags or cleaning cloths
- Sponges
- Vacuum (high-powered and wet/dry)
- Carpet cleaner
- Power washer
- Cleaning products
You may also require personal protective equipment, such as rubber-soled shoes, to prevent slipping. Don’t forget to wear gloves, dust masks, and eye protection if you will deal with drywall dust.
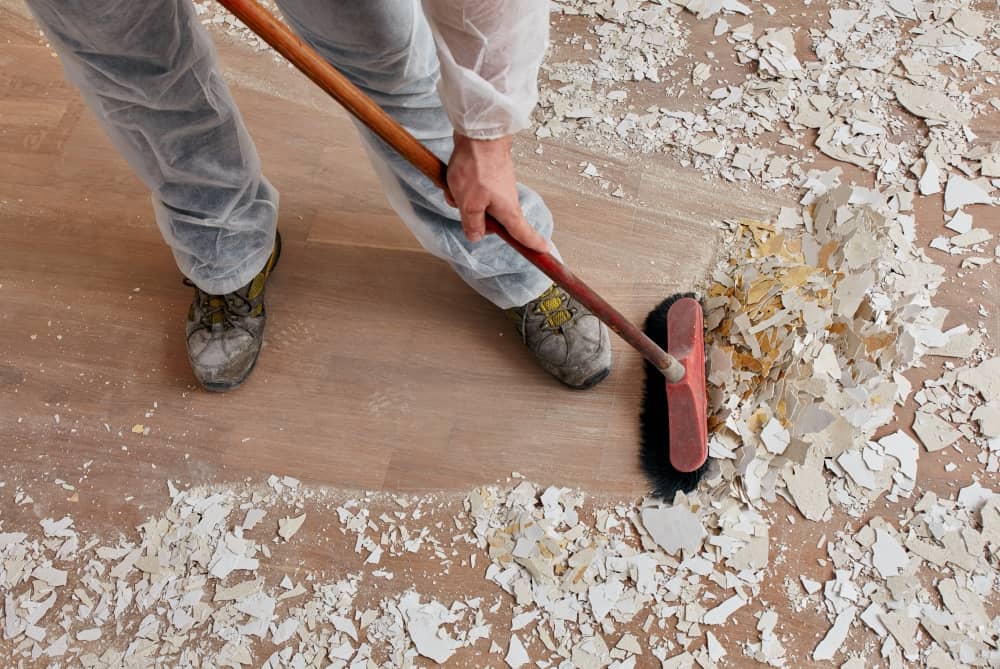
2. Clean From Top to Bottom
Now you can start the cleaning process. First things first: look up and begin from there. Clean the ceiling fan and everything else you see at the top of the room. That way, you push dust downwards, making it easier to vacuum, sweep, or mop.
Because you will be cleaning from the ceiling to the walls to the floor in this exact order, we urge you to protect a few areas of your home:
- Seal the rooms that were not renovated to stop the spreading of particles.
- Cover furniture and other belongings using old sheets. If possible, you may want to move them to another room.
- Block ventilation openings to prevent dust from settling in those cracks.
You can minimise the amount of post-construction cleaning that you will do by smartly prepping the area to be renovated.
3. Check and Wipe Air Vents and Filters
Many people clean everywhere except the air vents and grates. These places can catch a lot of tiny particles, so ensure that you wipe them all down. Use a soft cloth to clean the vents’ outer part. You can also vacuum inside the ducts. While you’re at it, it’s a great time to check the air filters. They may need a replacement, which allows you to start fresh after renovation.
4. Don’t Forget Other Tight and Tricky Spaces
As you clean around the house, you’ll likely focus on large items, such as your floors, walls, and TV stands. Make sure you do not overlook cracks and crevices where dust and debris can quickly accumulate during renovation. Go ahead and look at your smaller electronics, lampshades, and smaller home décor.
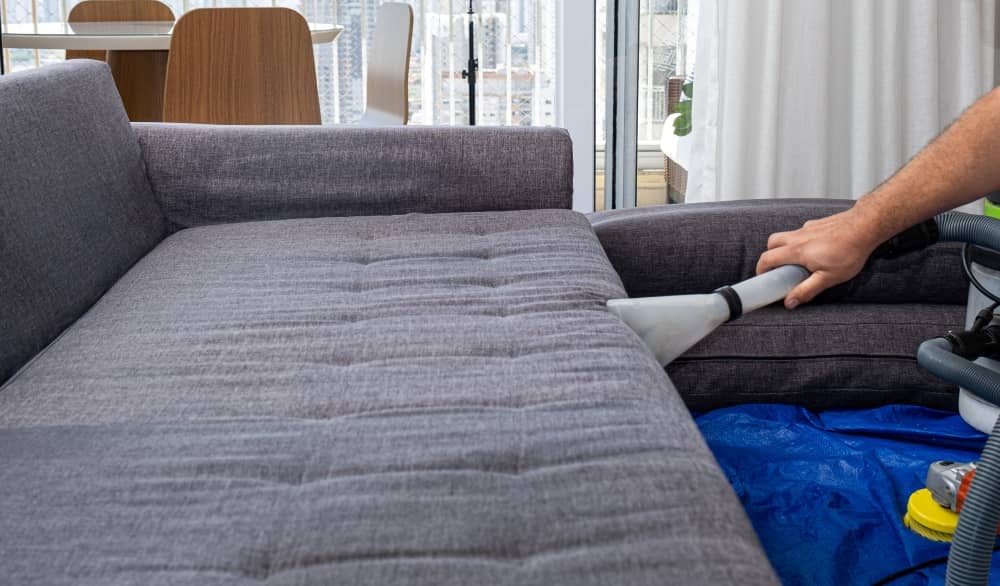
5. Vacuum the Upholstery
After wiping and cleaning, you may see that the upholstery looks clean. However, the items may not be hygienic, as they can hold grime and dust. Considering there’s so much fine dust floating and moving around during the construction, we recommend you vacuum your upholstery before using it again.
Some people choose to deep-clean their upholstery, which involves numerous steps and the use of solvent- or water-based cleaning products. If you’d like to learn more on deep-cleaning and how to do it properly check out the guides by Broadway Commercial Cleaning Service.
6. Do Some Touch-Up Cleaning
Even after cleaning, there could still be some residue left. After all, dust and debris know no bounds, especially after home improvement projects. That means your job is not done yet. To make your home squeaky clean, it helps to wipe down surfaces. Give extra attention to areas where the actual renovation work took place.
Some good starting points include cleaning painted walls, window sills and window tracks, and baseboards. Remove dust from vents and grates if you have not done so.
You may also want to clean inside cabinets and closets. Dust from construction and demolition can worm its way into tiny cracks. But don’t worry; cleaning these areas is not arduous. Just get a microfibre cloth and use it to wipe the items and vacuum the closet floor.
Cabinets usually require more effort in cleaning depending on what’s inside. But to make things easier, you can remove all the contents first before wiping down the inside of the cabinet. Then, you can replace the items after cleaning them with a microfibre cloth.
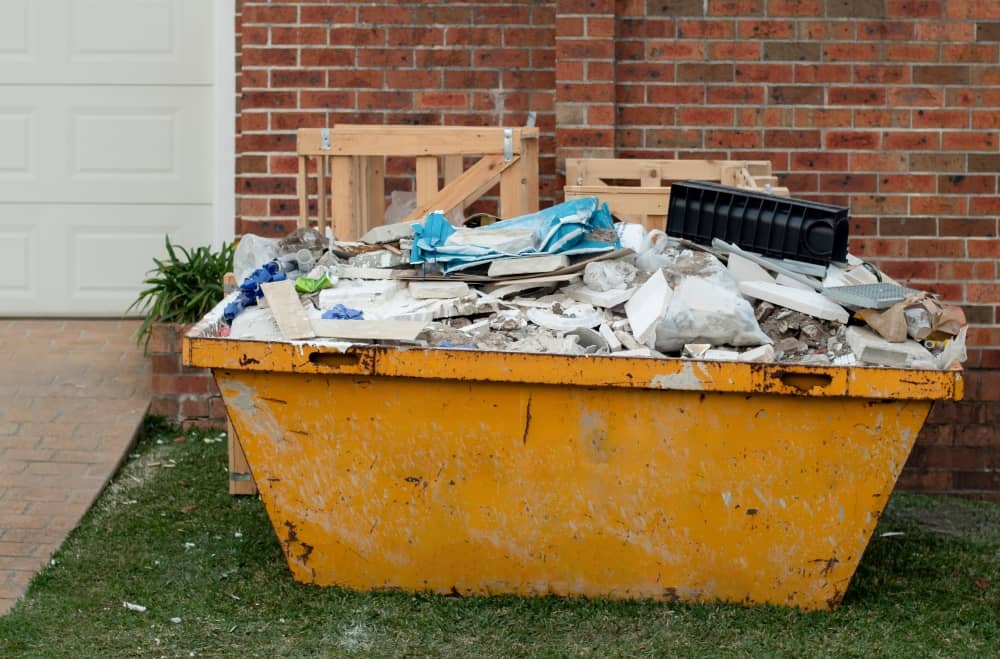
7. Use a Skip Bin for Easy Disposal of Home Renovation Rubbish
Finally, it’s time to remove debris from your home. The most convenient and affordable method is to hire a skip bin. After renovating your space, you might need to get rid of concrete, timber, or both. Skips are the best place to contain renovation rubbish, especially when you do not have enough space. They make disposal of any type of waste, including oversized items, such as kitchen appliances and furniture.
You can use the skip bin for non-hazardous materials, meaning you should NEVER put asbestos, lead paint, and the like in it. Instead, hire an asbestos removal service to have a professional remove it from the premises.
Also, be sure that you do not put liquid in the bin. If you need to dispose of general waste with liquid inside, drain it first before throwing it away.
Skips are an excellent choice for your renovation waste. They are an environmentally friendly option because your rubbish will not end up in the streets or even landfills. They are also much cheaper compared to hiring a trailer or truck to haul your old furniture and white goods away. If you need to dispose of large amounts of waste quickly, hiring a skip bin after a renovation project is the optimal choice.
Consider Renovation Clean-Up Service
Hiring a clean-up service can save you time. The cost, unlike what most people think, is generally based on the level of effort, not on the size of the space. For example, a three-bed 185-square-metre home can cost about $365-$370 to clean on average. Meanwhile, cleaning a one-bedroom home costs approximately $160-$165. These figures, though, are not for post-renovation clean-up, which costs more.
Whether you choose to DIY or hire a professional team to do it for you, you can benefit greatly from a rubbish collection service.
Take your time when cleaning up the mess after a renovation. Be sure to get everything, so you do not keep finding bits of particles and debris days later. It also helps to create a list of to-dos, which will ensure you don’t miss anything. Now, you’re ready to enjoy your freshly renovated property!
Make your clean-up job more manageable by hiring a skip after a renovation from Backyard Bins. Call us, and we will deliver the skip bin to your door. Once you’ve filled it up, we will come and collect it for you.
Backyard Bins Team
“ [rcblock id="2165"]”